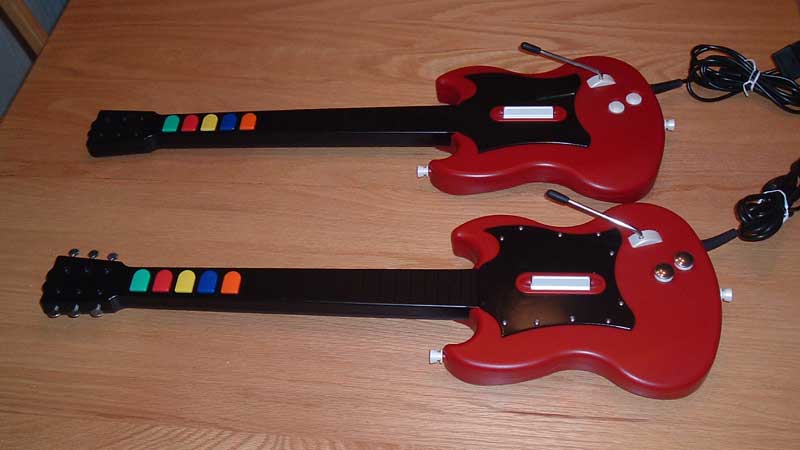
I've seen some posts on the ScoreHero forums asking for customization ideas that don't take days of careful painting and sanding. While those time-consuming mods look well worth it, and I plan to tackle one myself someday, it is possible to jazz up your GH controller in only a couple of hours with simple tools.
I made 3 tweaks to my SG controller in one evening, with only a drill, screwdriver, and about $10 worth of parts from the local chain hardware store. For the time and effort it took, I'm happy with how my new axe stands out from the stock model.
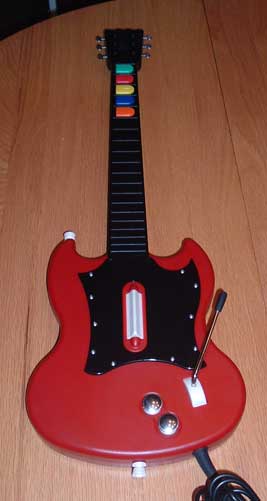
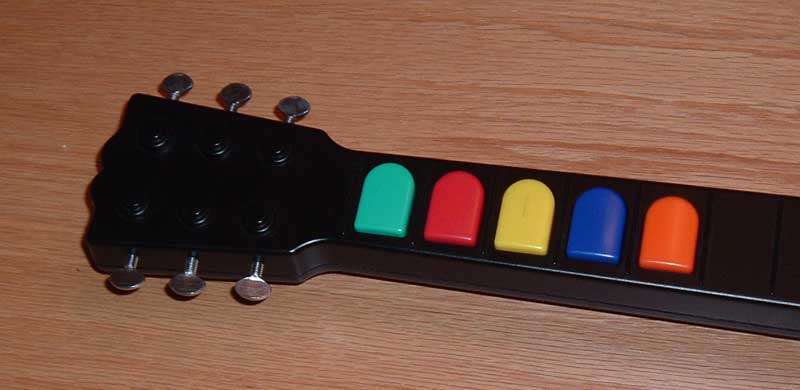
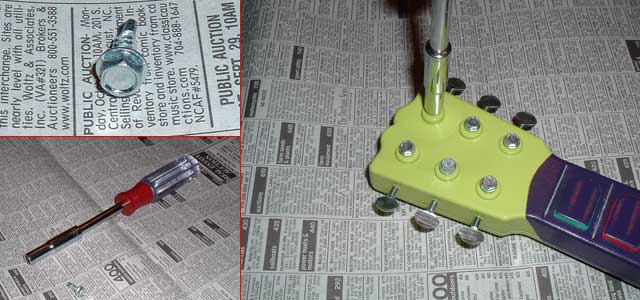
To me, the guitar controller head looks very odd without the tuning adjusters that belong on either side. Thumb screws are nearly perfect replacements, and are easy to find and install.
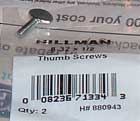
At Lowe's, I purchased 6 thumb screws (3 packages of 2 each) in 8-32 x 1/2" size. Thumb screws end in a machine screw body; the threads are adequate to grip the plastic of the GH controller, if the correct size hole is drilled.
For the 8-32 machine screw, I used a 9/64" drill bit and made 6 holes on either side of the guitar head. To avoid weakening the plastic or interfering with the border between the top and bottom pieces, I made the holes in the center of the top piece. Make sure that your holes are in line with the molded pegs, for realistic placement.
Since there aren't any electronics at the top of the head, you could drill these holes without disassembling your SG. I found it much easier to work with just the one part, so I'd recommend taking it apart if you have the patience (and remember how to put it together again). The topmost holes come close to the screw posts holding the neck together, but you will clear them if you drill in line with the "pegs" on the head.
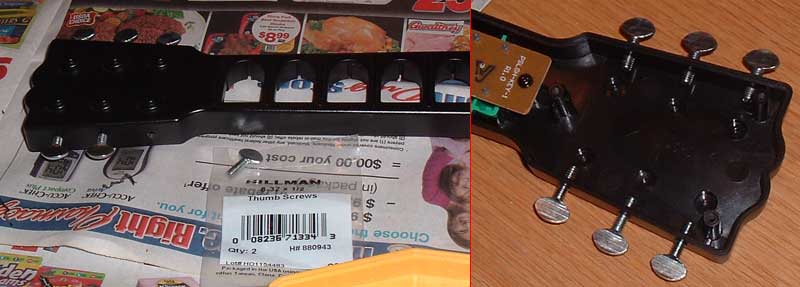
Once the holes were made, the thumb screws could just be screwed right in. The fit was very tight, and it was a little tricky to get each one started, so don't be afraid to use a bit of muscle getting them in. If your fingers get sore, you can use a pair of pliers to grip and turn the screws once they've been started.
Adjust the depth as desired, and you're ready to rock!
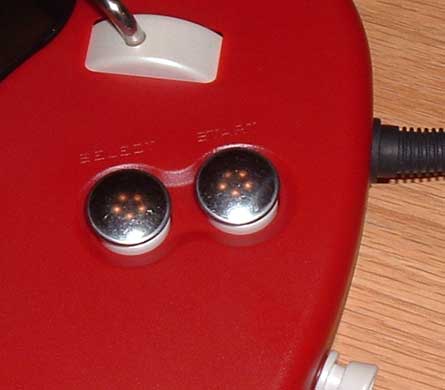
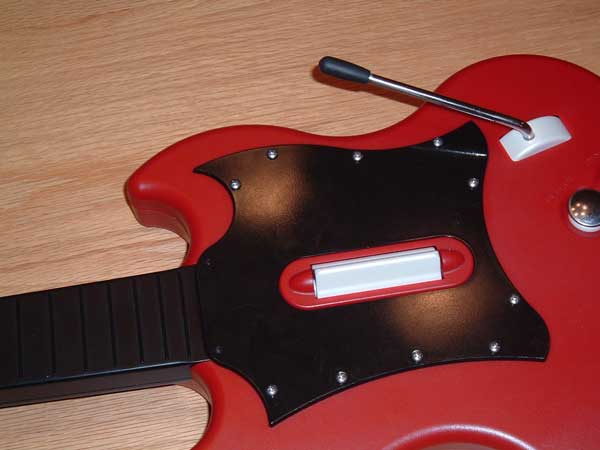
One custom guitar added chrome start/select buttons, with a snazzy metal plate for a Telecaster look. I really liked that, but this is the quick-n-easy version, so custom-cut metal plates are out. I left out the plate and used some smooth rounded metal buttons.
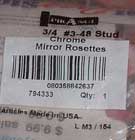
I got these "mirror rosettes" from the miscellaneous hardware drawers at Lowe's. The domed top has a nice feel, and there's a small machine screw post on the back. If you read the tuner project above, you'll know that machine screws can thread into plastic, which will save us from having to use glue. Time to break out the drill again, with a 5/64" bit to fit the smaller screw size.
If you were careful, you could drill into the top of each button without disassembling the guitar, but I played it safe and took the thing apart first. Try to get your bit centered and keep it vertical as you drill into the buttons, so that your new button tops won't be crooked.
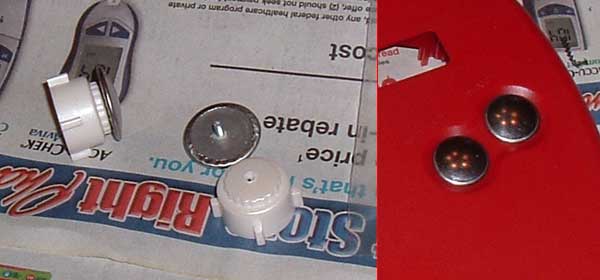
Test-fit the rosettes before you put it back together, in case you need to adjust the depth of the drilled hole. I tried to go no deeper than necessary. The metal caps are larger than the button holes, so for the final fitting, you'll need to put the buttons back in place, then screw on the caps from the outside of the guitar body.
The buttons are larger and sit higher now. This may be distracting for some, but it makes for nicer Star Power activations via the Select button; the button rests naturally against my palm and I don't have to contort my hand as much to press it.
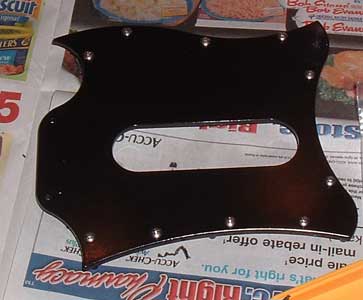
Exposed metal hardware is a quick way to get a "tough rocker" look, and the black pick guard of the red SG is great for contrast against shiny metal. Some round-head screws along the edge of the pick guard would give a great industrial feel.
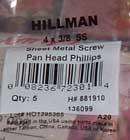
#4 screws looked to be the right size; I picked up a few packages of #4 x 3/8" pan head Phillips sheet metal screws at my local Lowe's. A 3/32" drill bit provided the perfect size hole for the screws.
At this point, you have a few choices. You could drill directly through the pick guard and body without disassembling anything, but I'd be afraid to hit the wires or screw posts littered inside the controller. For ease of working, I removed the pick guard itself and drilled holes, avoiding the existing posts where the guard is normally attached to the body. I tested out the screws to get an idea of how the finished product would look.
As you can see in the picture, I planned to put screws near the neck of the guitar. However, a lot of pieces come together there, and I didn't want to damage the neck by drilling in a bad place. Besides, I misjudged my pattern and ran out of screws. For the moment, I decided to skip them.
If you've got a Dremel, you could cut off the screw ends flush with the underside of the guard, and re-attach the pick guard now. Or, you could drill the same size holes through the body, and attach the screws through both the pick guard and the body. I didn't want to take these decorative screws out in order to remove the pick guard in the future, so I decided to instead drill larger clearance holes in the body. The pick guard is then attached with the original screws.
I put the pick guard back in place, with its new holes but no screws. Using a very small bit, I drilled pilot holes to show me where the screws go, and set the guard aside. I came back with a bigger 5/32" bit and drilled out the holes through the body again.
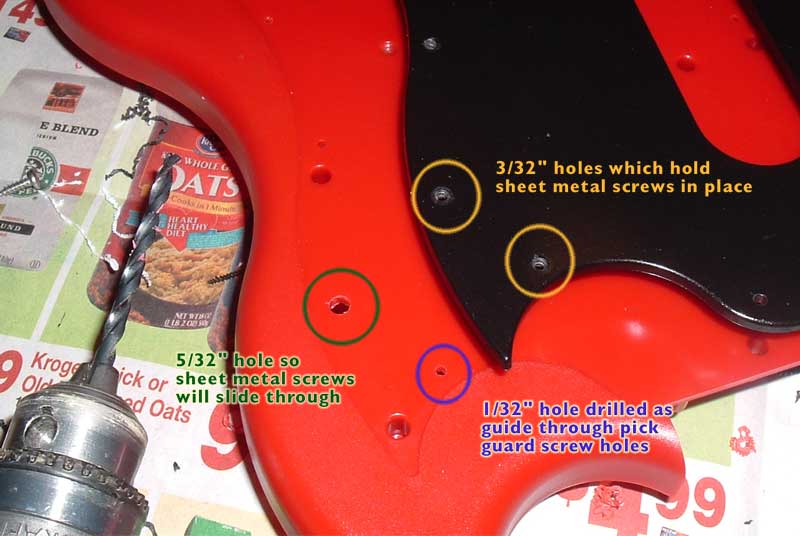
Once those clearance holes are finished, you can attach your screws to the pick guard, drop the pick guard back into the body, and then attach the pick guard with the original tiny screws from the inside. You can see the sheet metal screws protruding through the clearance holes in the picture below.
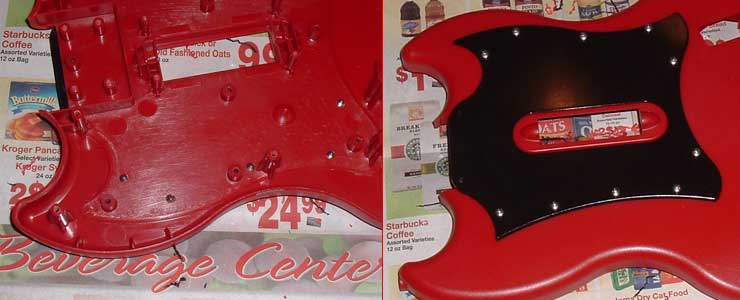
This may seem over-complicated, but it gives me a bit more flexibility later. I haven't ruined the original pick guard attachment method, so if I replace the screws later I don't have to worry about how it's going to fit back onto the body. I could even fill in the holes and paint to regain a smooth pick guard.
This project was done later than the others, hence the painted guitar in the photo below. After doing the tuning hardware, I decided that a bit of metal was needed for the posts on the head. I decided to use some #8 x 1/2" hex-head screws. The ones I found are self-drilling, so all you have to do is screw them in. Of course, you do need a hex-head screwdriver; fortunately my ratchet set came with the appropriate tool. Screw straight through the center of each post; after the drilling end digs out enough plastic, it'll go right in. In no time, you'll have the perfect complement to the tuning thumbscrews.
I hope this inspires you to make some tweaks to your own controller. Just like the Guitar Hero game, it doesn't take huge levels of talent or practice to look and feel more like a rock star; indulge your rock fantasy and make your guitar your own.